Customer Authentication
The 2-step identity validation captures the front and back of an ID.
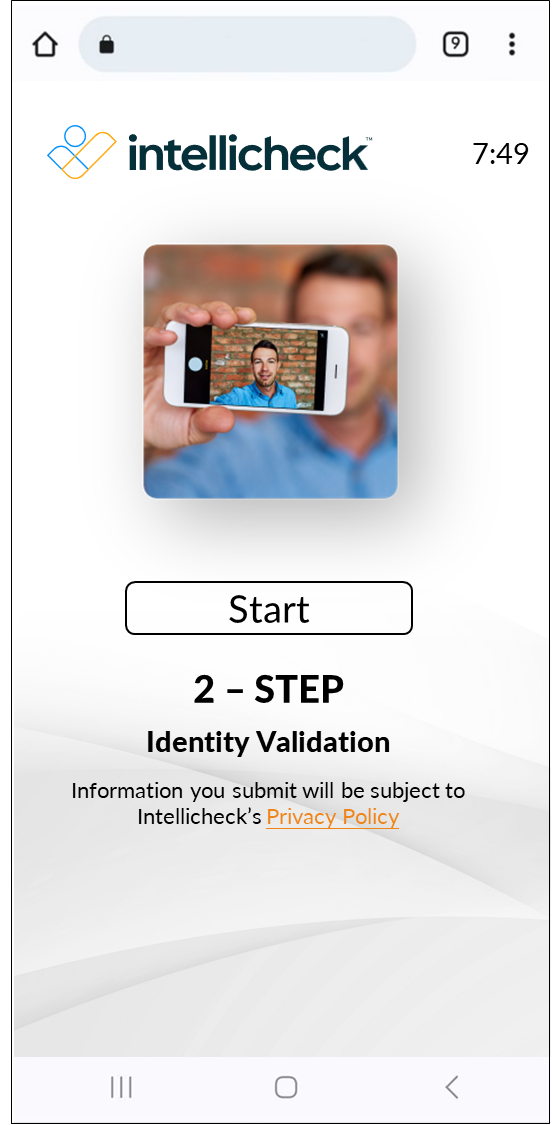
The 3-step identity validation captures the front and back of an ID, along with a selfie.
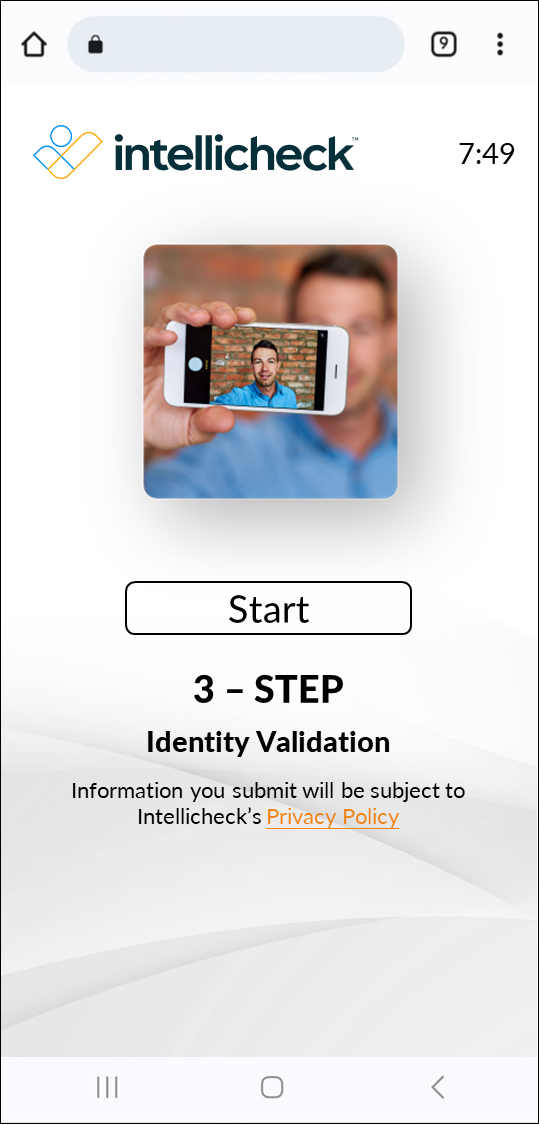
Capture the front of the ID
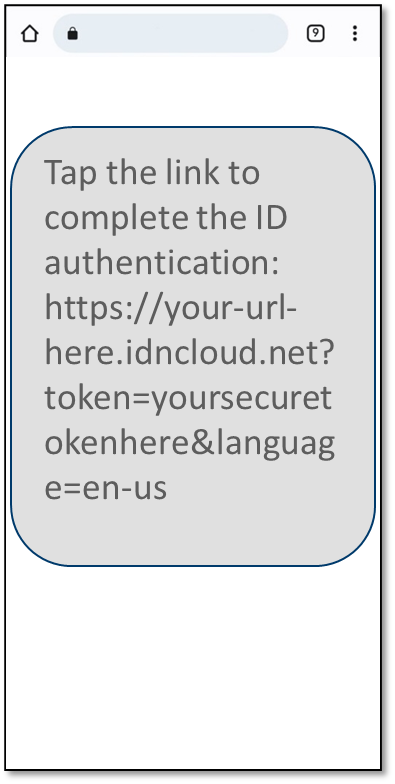
Capture begins with a simple text message.
Tap the link and the 2-step welcome page appears.
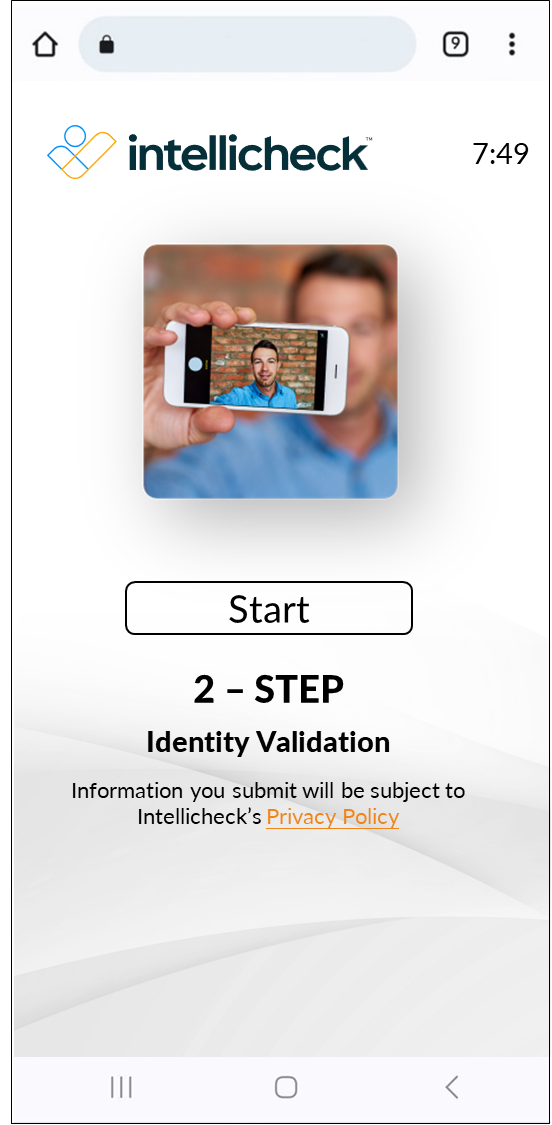
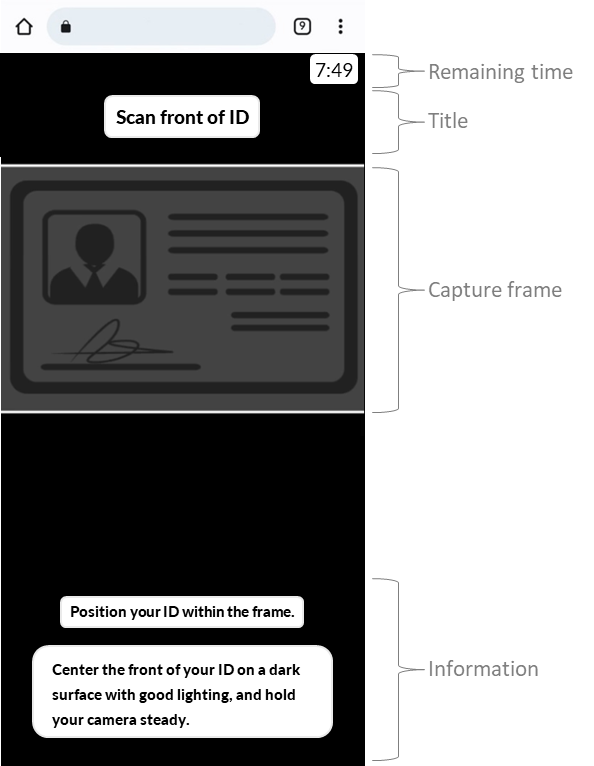
Tap Start, and then position the ID within the capture frame to scan the front of the ID.
Tap Retake to recapture the image, or tap Continue.
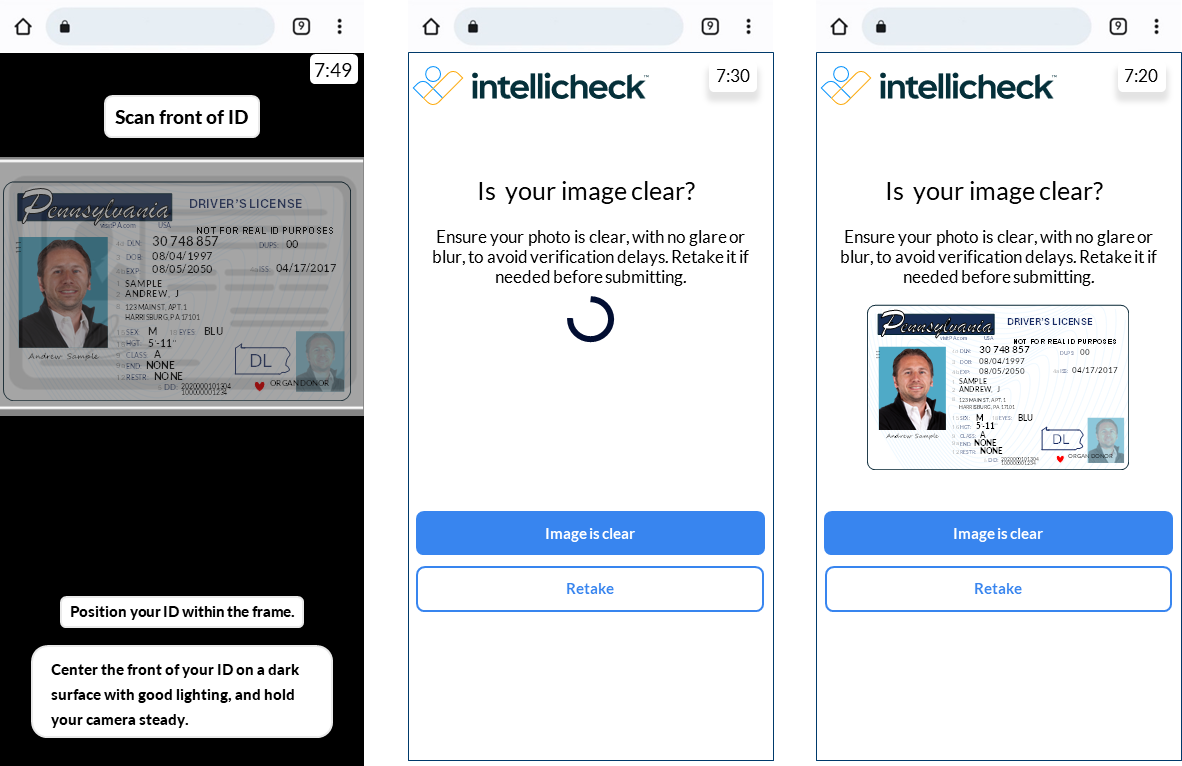
Next, you'll capture the back of the ID.
Capture the back of the ID
You capture the barcode on the back of an ID during the second part of the 2-step identity validation.
Center the ID and make sure the image is clear.
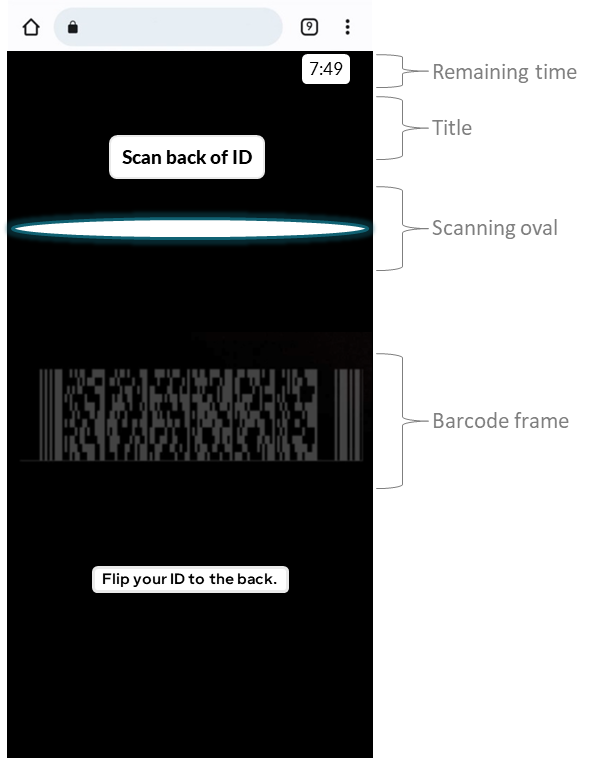
The capture occurs automatically.
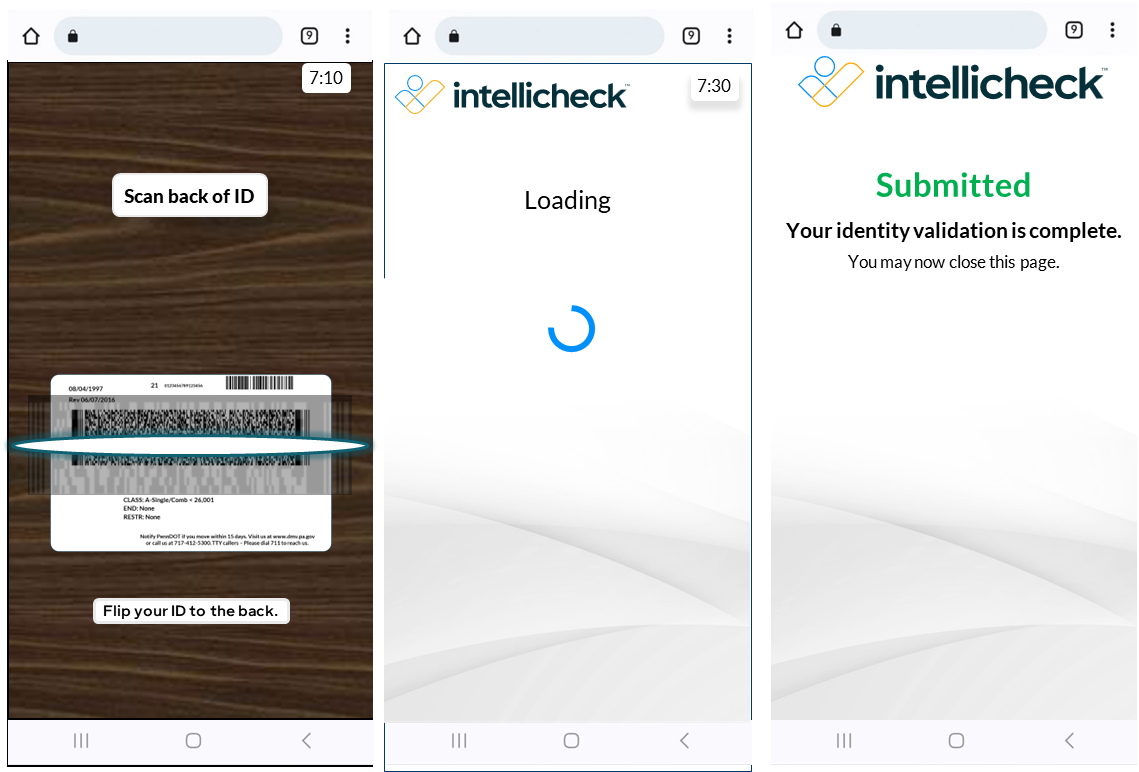
Capture a selfie
The 3-step identity validation is just like the 2-step identity validation but with the added step of capturing a selfie.
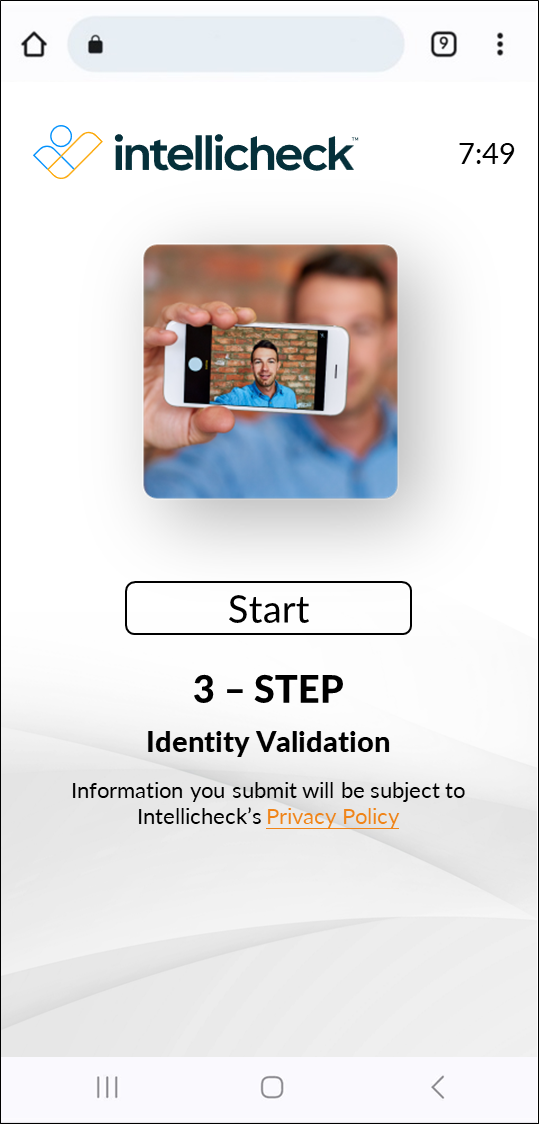
Keep the following tips in mind before you begin.
Include a complete face in the selfie.
Remove sunglasses, hats, or other articles that obstruct the face.
Find a well-lit area.
To capture a selfie, follows these steps:
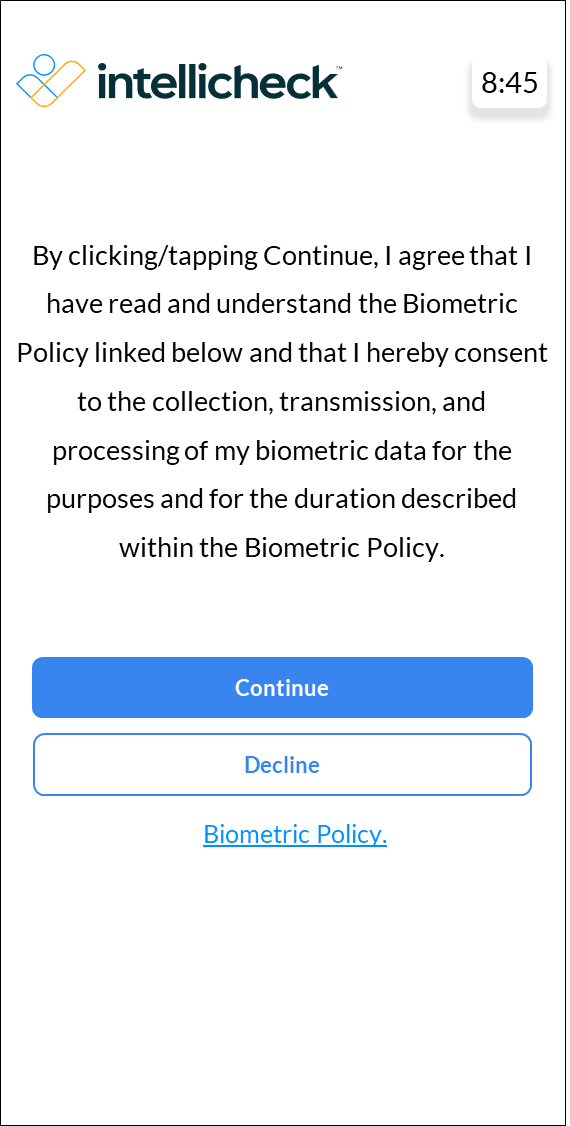
Select Continue on the Biometric Policy page.
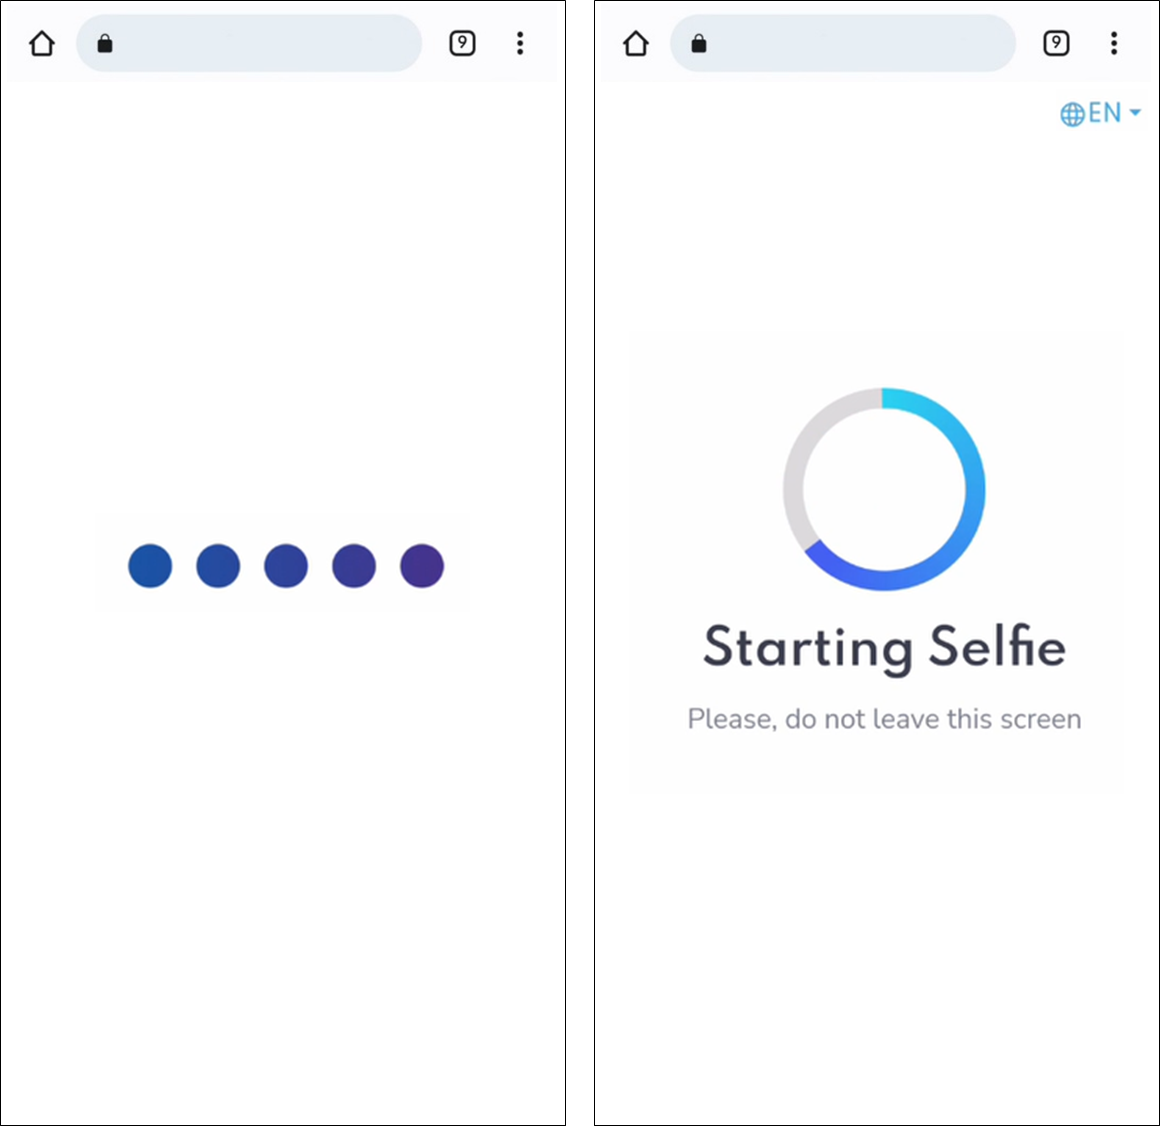
Two Starting Selfie pages are displayed in quick succession, and then the device camera is turned on.
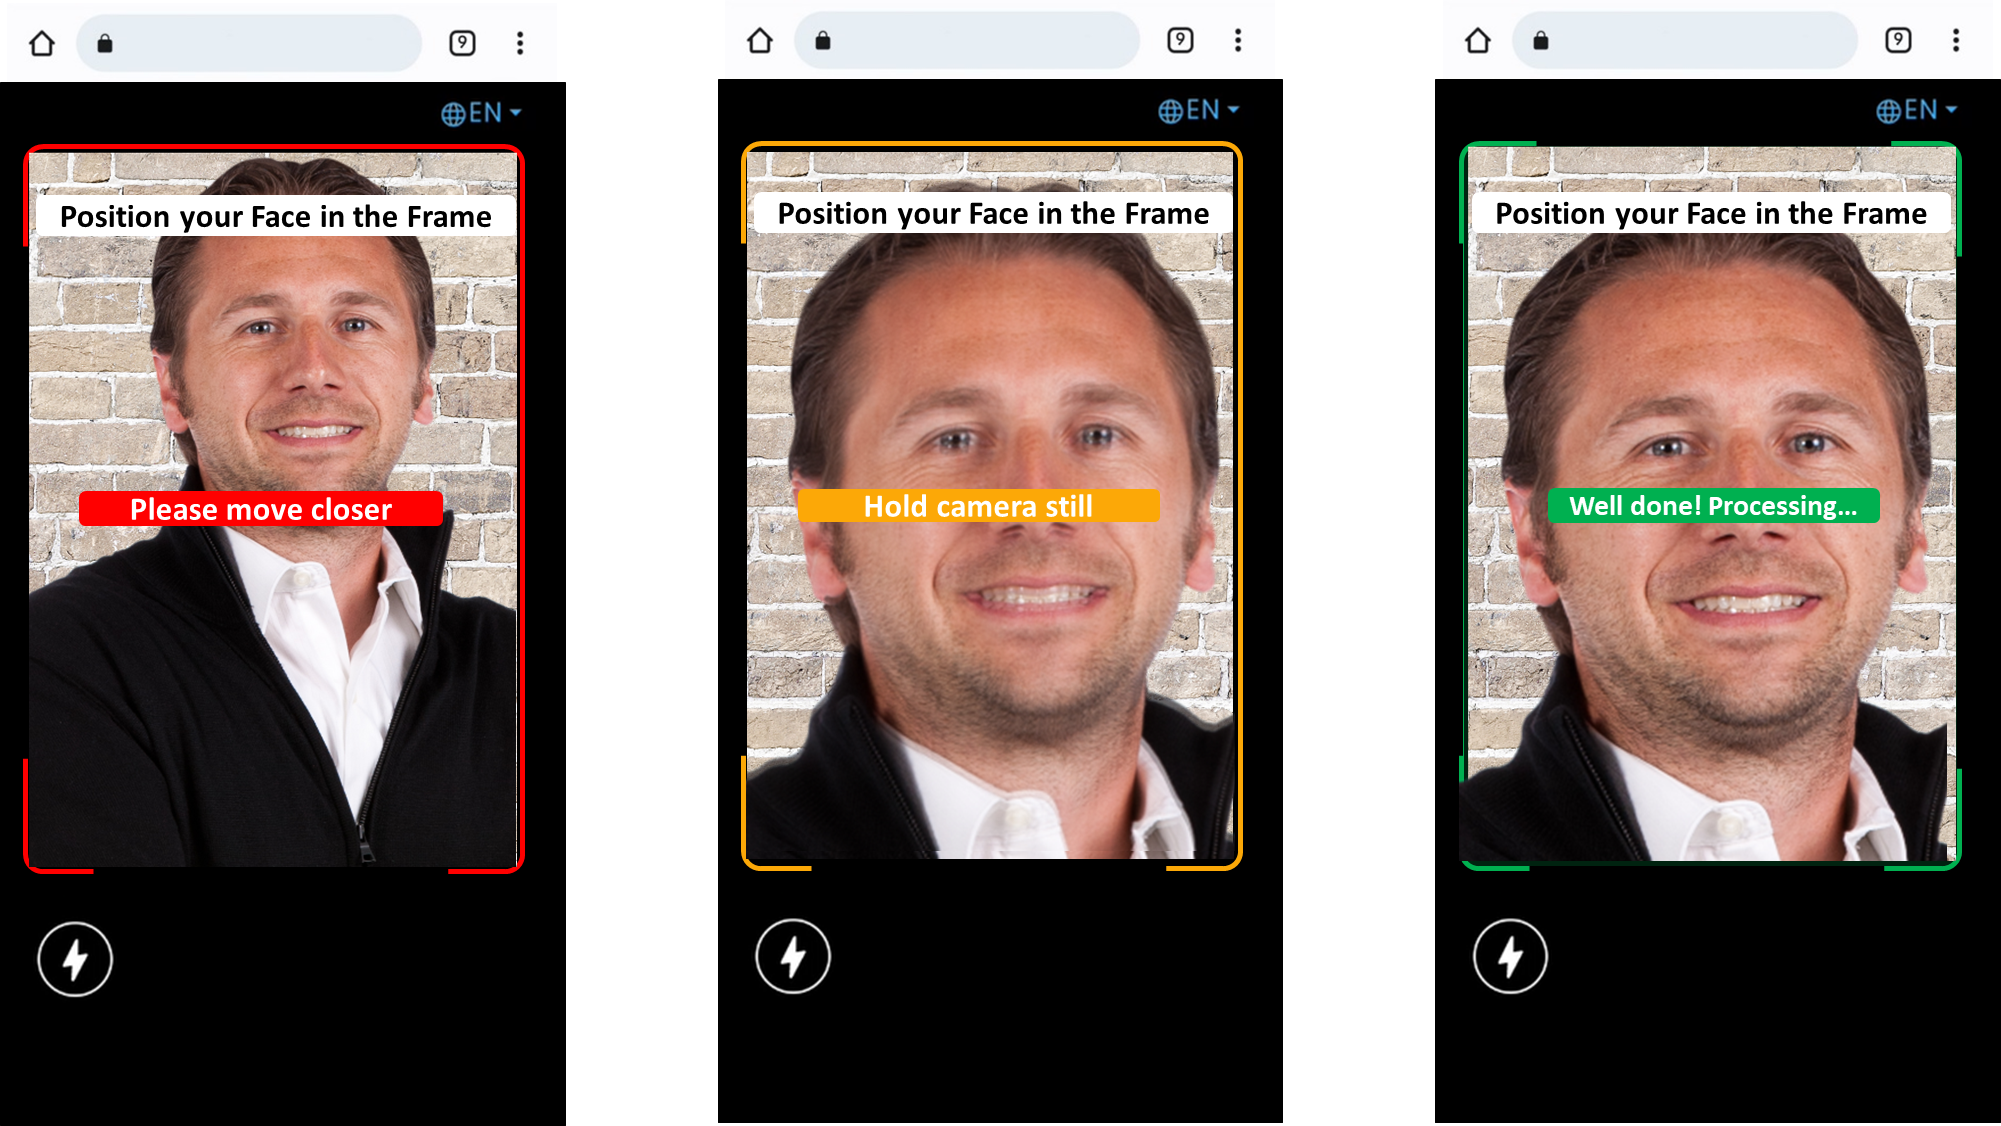
With the camera active, various messages are displayed, such as: Face into center, please; Hold camera still; Camera angle needs to be adjusted. Well done! Processing means you are finished.
Three pages appear in quick succession: Submitting Selfie, One Moment Please, and Submitted.
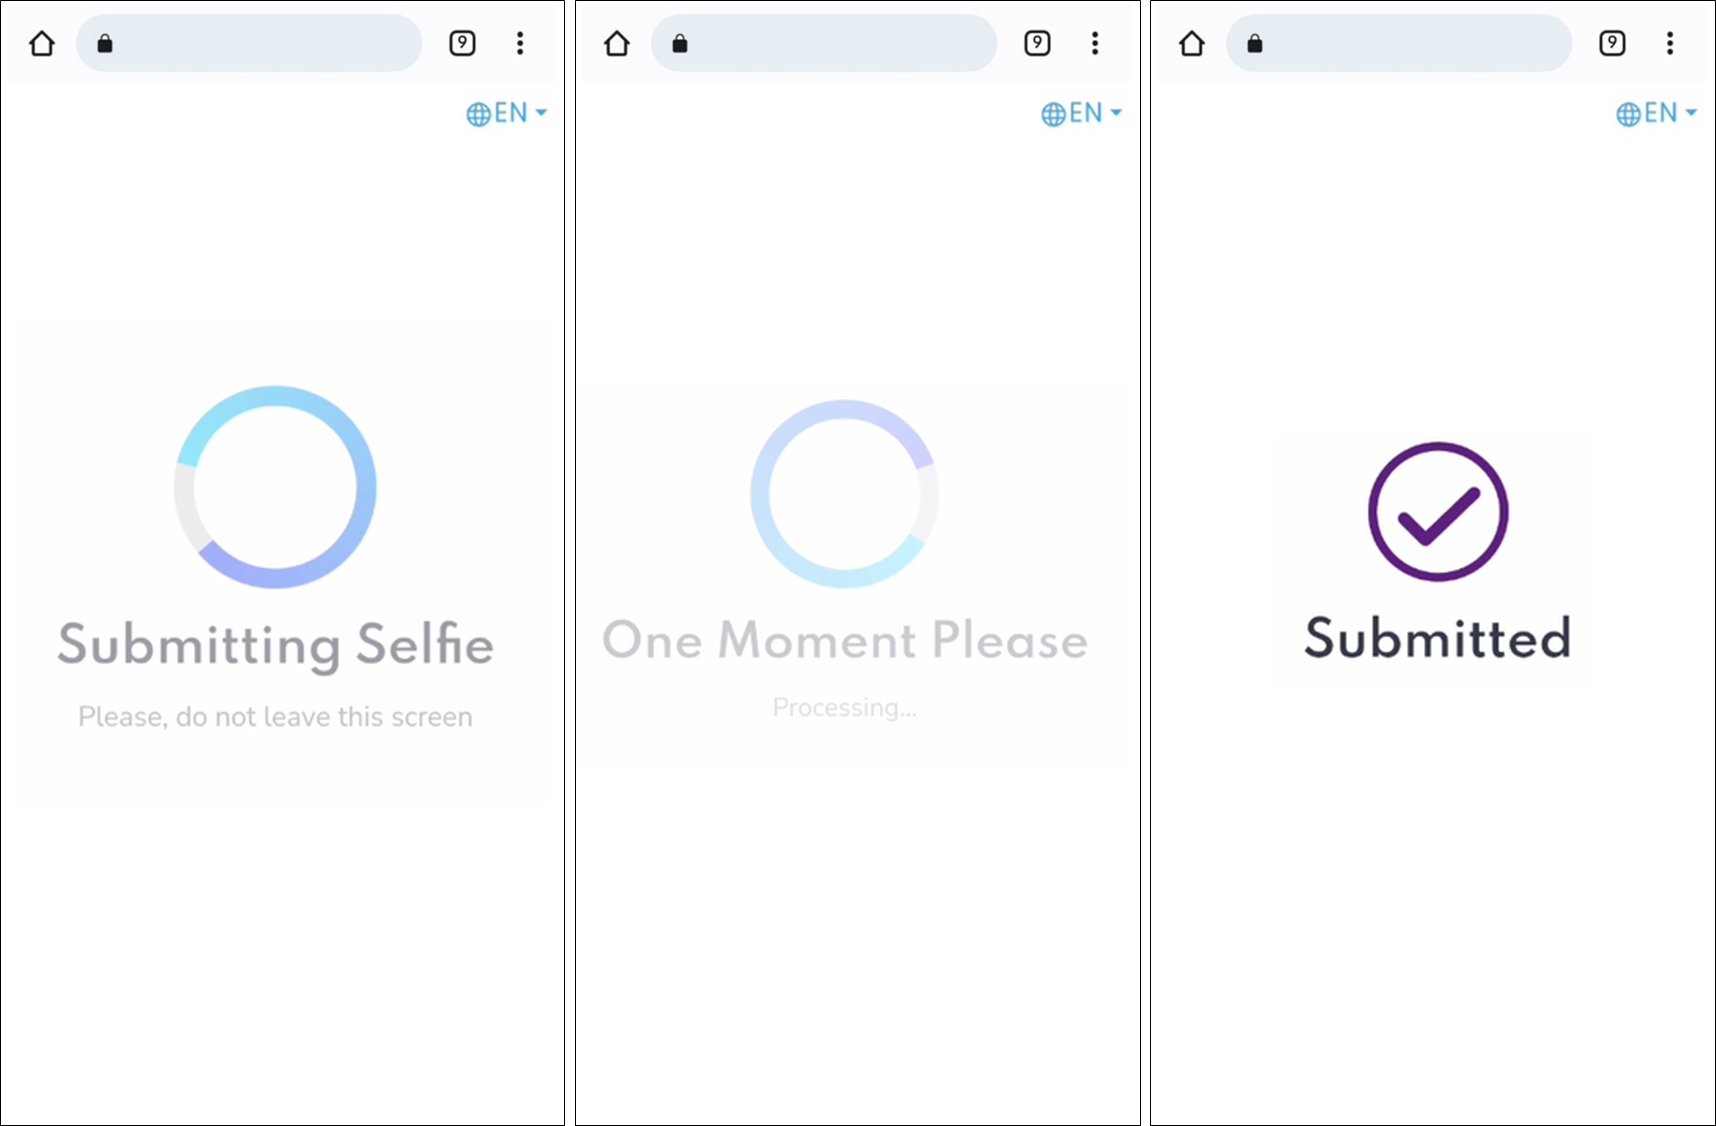
The image is submitted.
